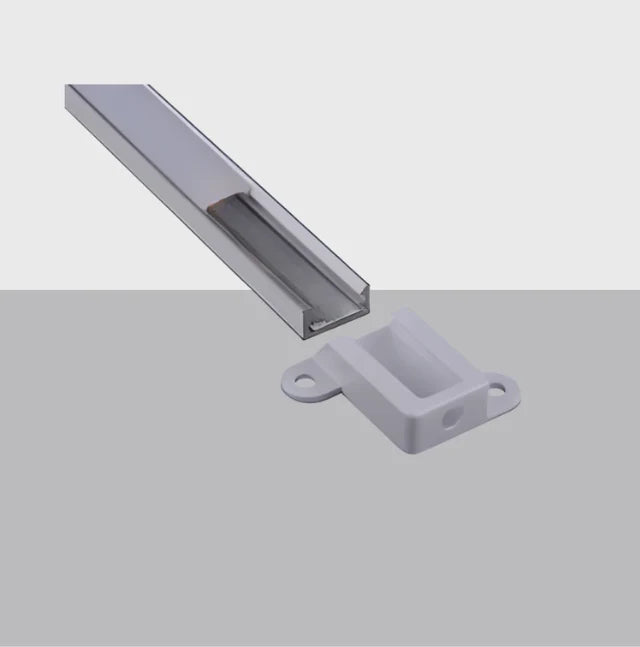
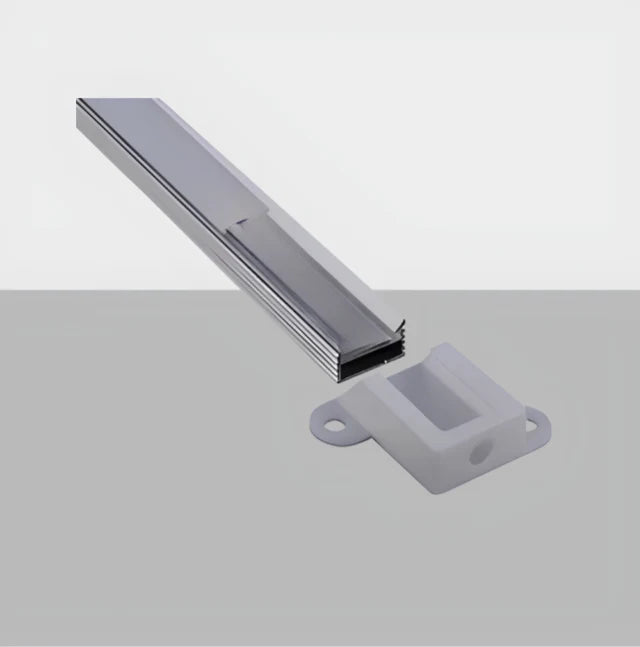
Recessed LED Channel Profile | Aluminium with Flange, 1m to 3m
Save $-6.45
In stock
Ask An ExpertSubtotal: $6.45
Fast Delivery: USPS Priority Mail
- Flat Rate Shipping
- Secure Checkout — SSL Encrypted
| Material | Extruded aluminium |
|---|---|
| Mounting | Recessed, with flange |
| Diffuser | Opal cover |
| Lengths | 1m, 2m or 3m |
- Decide recessed or surface first - recessed needs a groove cut into the surface and cannot be moved later. Surface mount screws on and can.
- Measure the flange width - cut the groove wider than the channel body but narrower than the flange, so the lips have something to sit on.
- Test on an offcut - set the router on scrap of the same material before touching the real surface.
- Plan around the joists - in plasterboard, route the run to avoid them rather than cutting around them.
- Check your tape width - most tape is 8mm or 10mm and the two are not interchangeable.
- Order end caps and clips at the same time.
- Fit the channel, press in the tape, clip the diffuser on last.
A channel that sits inside the surface
Surface channels mount on top of a ceiling or a wall and you see the housing. A recessed channel sits inside it, so all that shows is a line of light flush with the plaster. It is the difference between a fixture you can see and a detail that looks built in.
The flange is what makes it practical. Two small lips sit over the edges of the cut, hiding the rough edge and giving the plasterer or the joiner something to finish against.
Specification
| Material | Extruded aluminium |
| Mounting | Recessed, with flange |
| Diffuser | Opal cover |
| Lengths | 1m, 2m or 3m |
Recessed or surface
| Recessed with flange | Surface mount | |
|---|---|---|
| What you see | A line of light, flush | The housing and the light |
| Work involved | Cut a channel into the surface | Screw it on |
| Suits | New build, refit, plasterboard | Retrofit, cabinets, shelving |
| Can you move it later | Not easily | Yes |
Cutting the slot
Route or cut a groove slightly wider than the channel body but narrower than the flange, so the lips have something to sit on. Measure the flange width before you set the router, and test on an offcut first. In plasterboard, plan the run to avoid the joists rather than trying to cut around them.
Ordering
Measure the run, round up to the next whole metre, add one extra length. Order end caps and mounting clips at the same time. Check your tape width against the internal dimension — most tape is 8mm or 10mm and the two are not interchangeable.
Related
For a flush finish with no visible flange, see our super slim recessed profile. For a surface run, see the surface mount channel. Fit COB LED tape inside.